Hey Guardians! 🥳 The Warlord's Ruin dungeon has been out for a while now, and I've spent countless hours exploring its frosty peaks and mysterious prisons. It's a fantastic challenge set in the EDZ mountains, where we need to stop a dangerous ritual between the Scorn and the Taken. I've put together this comprehensive guide based on my own clears to help you conquer every encounter and claim that sweet loot. Let's dive in!
🛠️ Warlord's Ruin Build Suggestions

First things first, let's talk loadouts. You can't access your vault mid-dungeon, so planning is key! While subclass choices are flexible (Solar is still super strong with the Season of the Wish artifact), your weapons are crucial.
My absolute must-haves:
-
Power Slot: A top-tier Linear Fusion Rifle is NON-NEGOTIABLE for the final boss. Trust me on this. Stormchaser or Doomed Petitioner are my go-tos. Also, pack a Machine Gun and a Rocket Launcher for other phases.
-
Special Slot: An Exotic Linear Fusion Rifle like Arbalest is amazing for breaking shields, or a good shotgun for close-quarters.
-
Primary Slot: Anything with sustained damage, a big mag, and fast reload. My favorites are Sunshot, Osteo Striga, Rufus' Fury, or Perpetualis.
🧗 Reaching & Beating The First Encounter

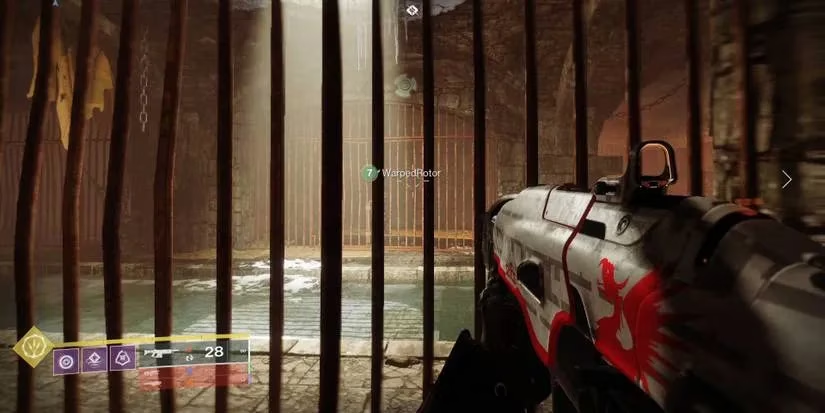
The journey starts with some light platforming. Head up the mountain until you see a tall central cliff with two paths around it. Spot the red flag on top, stand by it, then look left to find a narrow ledge. Follow it across! Keep going until you see Scorn guarding a long bridge—that's your path. Cross it, enter the temple, and go left. You'll see doors requiring "Dispel Level 1"; ignore them for now on your first run.
How To Win The First Encounter

You'll face Rathil, First Broken Knight of Fikrul. Save your rally flag until you understand the mechanics!
The core loop:
-
The Cage Trap: The boss will teleport you into hanging cages. A timer starts! Three Blighted Eyes spawn around your cage at different heights. Destroy all three to open the door and escape. Pro tip: Shoot the lowest one first, as the cage rises!
-
Imminent Wish: Once caged, you get the "Imminent Wish" buff. After escaping, find two Blighted Cores on the ground.
-
Secure the Cores: Stand in a core's radius for about 10 seconds. It will shrink, turn to bones, and release energy. Do this while Imminent Wish is active.
-
Damage Phase: When Imminent Wish expires (and you secured cores), you get "Naeem's Wish Empowerment." This drops the boss's shield! The more cores secured, the longer this buff lasts. Unload your Heavy and Supers!
-
Repeat until Rathil is defeated.
My secret tip: Use Void invisibility (Hunter with Graviton Forfeit is perfect) to safely secure those Blighted Cores amidst all the enemy fire.
🔓 Solving The Prison Puzzle
After the boss, you're teleported into separate prison cells. Don't panic! This puzzle is about communication.
-
Each cell has a unique view. Look for numbered markings (like "No. 4" or "2") on rocks or the floor. These numbers are random each run.
-
You'll also see rotatable disks on walls/pillars. Shooting them makes them spin.
-
Shoot once to start rotation (clockwise or counter-clockwise).
-
Shoot again to stop it, then shoot once more to reverse the direction.
-
-
The numbers tell you how many disks must spin in each direction. In my example, the rock number (4) meant 4 disks counter-clockwise, and the floor number (2) meant 2 disks clockwise.
-
Coordinate with your team! One prisoner can usually see a lever key. Once the disks are set correctly, shoot the lever to open all doors.
🏔️ Navigating to The Second Encounter

Grab your loot and head into maze-like corridors filled with deadly blade traps (they look like wall vents). Jump over or slide under them! Navigate via holes in ceilings/floors until you're back on the mountain.
Cross using the central cliffs to reach a giant bridge. Fight through Scorn (ignore the immune giant eyeball). At the temple entrance, don't go in! Instead, turn left, find a narrow ledge above, and follow the cliffs to a sewer entrance. Go in, turn left at the end, and find a hole in the ceiling leading to the next arena.
How To Win The Second Encounter

Meet "Locus Of Wailing Grief," a very angry Ogre. Scout the arena first:
-
Torches at the back give "Shelter From The Storm" buff.
-
Four rectangular fireplaces in the middle need to be lit to start damage.
-
Four circular fireplaces on the top floor will spawn light cores.
The Encounter Flow:
-
Kill the initial Blighted Eyes.
-
Two Vrysiks, Third Broken Knight disciples spawn on left/right sides. Split your team.
-
You'll get Imminent Wish (buff) and Biting Cold (debuff). Biting Cold stacks to 10 = freeze & death! Stand by a torch to clear it.
-
Kill your Vrysiks to spawn Blighted Cores. Secure them into bones while Imminent Wish is active, but watch your Biting Cold stacks!
-
When Imminent Wish ends, light cores spawn upstairs. You get one core per Blighted Core you secured. You need four cores total to start damage.
-
Damage Phase: Each player takes a light core and lights a rectangular fireplace. Once all four are lit, the boss raises its hand—DPS time! You must stay within a fireplace's radius to avoid the intensified Biting Cold. The boss will move to extinguish them; rotate as a team. Machine Guns or Grenade Launchers work great here.
-
Repeat until the Ogre falls. This usually takes 3-5 damage phases.
⚔️ The Final Showdown: Third Encounter
After the Ogre, traverse a tricky platforming section with a giant Blighted Core and floating rocks (boost your mobility!). Fight through Taken up a spiral staircase and drop into the last arena.
How To Win The Third Encounter

The boss is a giant Blighted Eyeball. The fight progresses across multiple platforms, unlocked by completing phases.
Mechanics Breakdown:
-
Initial Phase: Kill the row of Blighted Eyes near the boss. This spawns two Sirloks, Fifth Broken Knight disciples.
-
New Debuff: You get Imminent Wish and Hex Of Vengeful Corruption. The Hex has a timer and spawns glowing, immune "Corrupted Hex-Drinker" enemies.
-
Transfer the Hex: Melee a glowing Hex-Drinker to transfer your debuff to it (you'll see "Vengeful Corruption Transferred"). Each player needs a different Hex-Drinker. If a debuffed enemy hits you, the Hex returns—transfer it again!
-
Secure Cores & Damage: While managing the Hex, kill Sirloks, secure their Blighted Cores into bones during Imminent Wish, then damage the boss when Naeem's Wish Empowerment activates.
-
Platform Progression: After damaging the boss on the first platform, move to the upper right one, then the next. You'll repeat steps 1-4 on each.
-
Final Platforms: After the third main platform, the boss moves to three small, connected top platforms. These are back-to-back damage phases—ignore the Blighted Eyes and focus fire! A Linear Fusion Rifle aimed down its throat is optimal.
-
The Kill Chamber: After damaging the last health chunk, you're teleported to the top of the spiral staircase for a final, must-succeed damage phase. Empty all your Heavy ammo here! Ignore the Eyes, burn the boss, and claim your victory loot!
And that's it! Warlord's Ruin is a marathon, but so rewarding. Good luck, and may RNG bless you with that exotic drop! 💖
Leave a Comment